When I checked my OpenClaw service, it stopped replying on Feishu, so I started investigating the server.
It turned out the issue was not a crashed sshd, but an unstable cross-border route (Germany to China Unicom).
The final solution was to deploy cloudflared on the server, map ssh-de.condevtools.com to localhost:22 through a Tunnel, and connect locally with cloudflared access ssh.
This removes direct dependence on port 22 exposure and gives better stability and control.
Current Status Check
The provider's VNC was accessible, SSH service was active, port 22 was listening, and logs contained Connection reset by peer [preauth].
systemctl status ssh
ss -tlnp | grep sshd
ufw status    # 或 iptables -S / nft list ruleset
journalctl -u ssh -n 100 --no-pager
Key checks:
systemctl status ssh: verify whether SSH service is running.Active: active (running): service started normally.inactive/failed: service is down; fix service issues first (config, key files, startup failure, etc.).
ss -tlnp | grep sshd: verify whether SSH is listening on a port.0.0.0.0:22and[::]:22: listening on all IPv4/IPv6 addresses.- Only
127.0.0.1:22: listening locally only; external access will fail. - No output: not listening (service not running or port changed).
ufw status: check whether system firewall blocks SSH.Status: inactive: no system-level firewall block.activewithout22/tcp ALLOW(or your custom SSH port) will block access.
journalctl -u ssh -n 100 --no-pager: inspect authentication and connection logs.Accepted publickey: login succeeded.Failed password: credential issue.Connection reset by peer [preauth]: connection reached the server, but was reset before authentication, commonly caused by network path issues.
Conclusion: service OK + port OK + UFW not blocking + preauth reset in logs points to a network path issue rather than broken SSH server configuration.
Solutions
1. Use a Hong Kong VPS as an SSH jump host
First SSH to a Hong Kong VPS, then SSH to the Germany VPS, or host a WebSSH endpoint on the Hong Kong VPS. Note: public WebSSH services are unsafe and may leak credentials or increase attack surface.
# ~/.ssh/config
Host hk
  HostName HongKongIP
  User your_user
  Port 22
  IdentityFile ~/.ssh/id_rsa

Host de-via-hk
  HostName GermanyIP
  User your_user
  Port 22
  ProxyJump hk
  IdentityFile ~/.ssh/id_rsa
ssh de-via-hk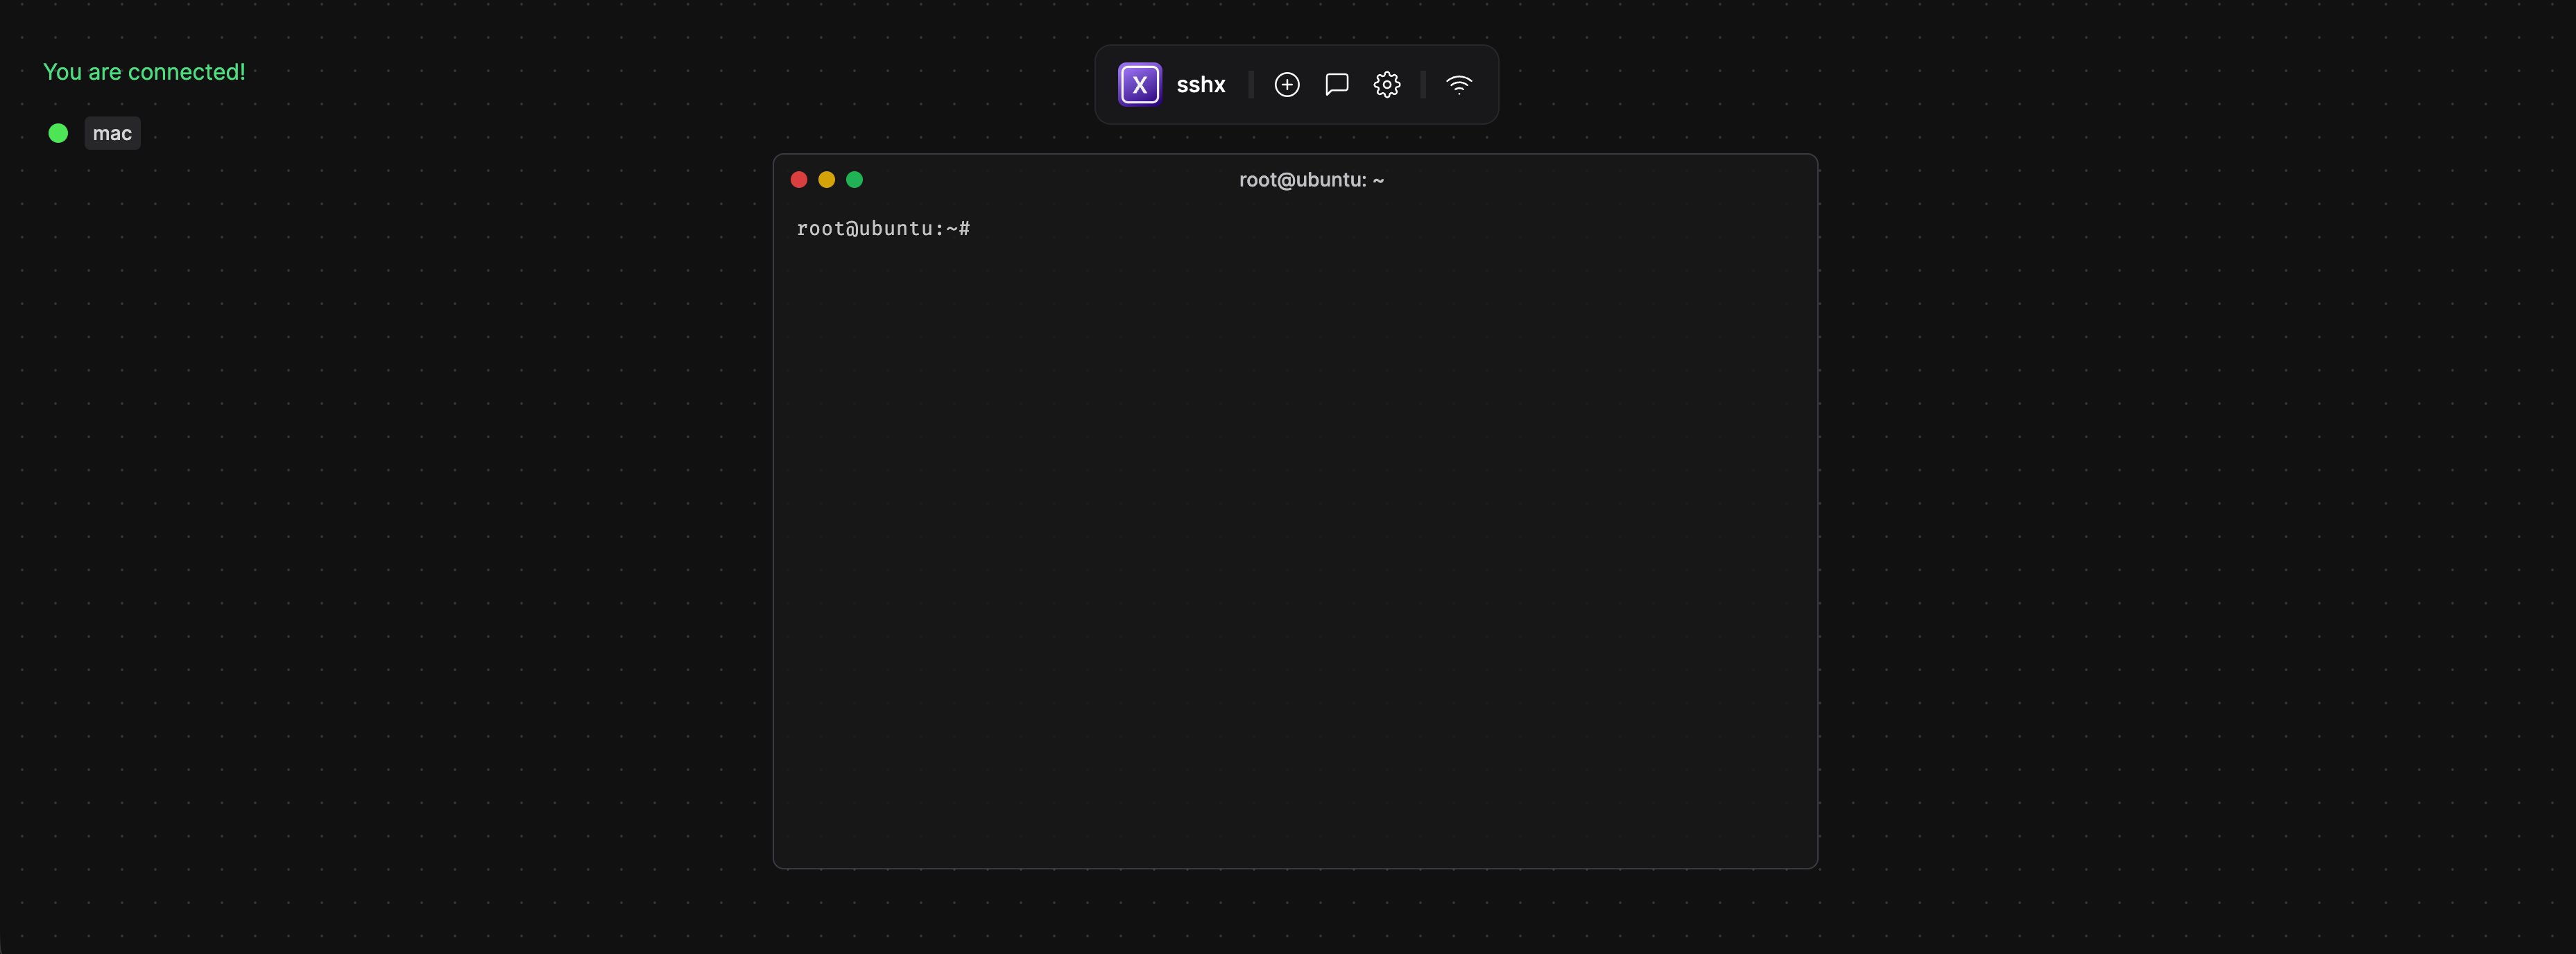
You can also refer to this guide: Use a low-cost Hong Kong VPS as a relay. I kept searching for other options due to cost.
2. Use sshx as a temporary web terminal
You can install and run sshx on the server via VNC, then open the generated link in a local browser.
curl -sSf https://sshx.io/get | sh
sshx
This works for emergency access, but can be unstable and requires reopening VNC to restart sshx, so I later switched to Cloudflare Tunnel.
3. Cloudflare Tunnel and cloudflared
Cloudflare Tunnel is a reverse tunnel initiated by the origin:
after cloudflared runs on the server, it actively connects to Cloudflare edge and forwards traffic for a specific domain (such as ssh-de.condevtools.com) to a local service (such as localhost:22).
It mainly solves three problems:
- unstable cross-border direct routes
- ports affected by ISP or network policy
- security risks of exposing SSH on the public internet
The workflow can be summarized as "outbound tunnel + edge authentication + origin forwarding": users first reach Cloudflare edge, pass Zero Trust Access checks, and then enter the established tunnel to the origin. So even if you close public SSH exposure on the server, you still keep a stable and safer remote ops channel.
Cloudflare Tunnel is the service itself, while cloudflared is the official client: the former defines capability, the latter creates tunnels, initiates access, and forwards traffic.
Server Side
1. Install cloudflared (Ubuntu 24.04)
sudo apt-get update
sudo apt-get install -y cloudflared
cloudflared --version
2. Log in to Cloudflare and generate /root/.cloudflared/cert.pem
cloudflared tunnel login
ls -l /root/.cloudflared/cert.pem
3. Create a Tunnel and bind an SSH subdomain
cloudflared tunnel create de-ssh
cloudflared tunnel list
cloudflared tunnel route dns de-ssh ssh-de.condevtools.com
4. Generate configuration
TUNNEL_ID=$(cloudflared tunnel list | awk '$2=="de-ssh"{print $1}')

cat >/root/.cloudflared/config.yml <<EOF
tunnel: ${TUNNEL_ID}
credentials-file: /root/.cloudflared/${TUNNEL_ID}.json
ingress:
  - hostname: ssh-de.condevtools.com
    service: ssh://localhost:22
  - service: http_status:404
EOF

cat /root/.cloudflared/config.yml
cloudflared tunnel ingress validate
5. Validate in foreground (press Ctrl+C after success)
cloudflared tunnel run de-ssh6. Install as a systemd service and enable on boot
cloudflared service install
systemctl daemon-reload
systemctl enable --now cloudflared
systemctl status cloudflared --no-pager -l
Add a Zero Trust Access App in Cloudflare Dashboard
Zero Trust does not mean "trust internal, distrust external". It means trusting nobody by default, verifying identity and policy on every access, and granting least privilege.
In this setup, cloudflared tunnel only connects SSH service to Cloudflare edge; Zero Trust Access decides who can enter.
Without Access, anyone can attempt connections to the public hostname. With Access, only users matching policy (for example, specific emails) can obtain access tokens and continue to SSH.
Workflow:
- Run
ssh, whereProxyCommandcalls localcloudflared access ssh --hostname .... - Local
cloudflaredopens browser login (OTP/IdP). - Cloudflare Access evaluates policy.
- Tokens are issued only when an Allow policy is matched; default is deny.
- Once allowed, traffic enters the Tunnel and forwards to origin
localhost:22.
Configuration steps:
Zero Trust -> Access -> Applications -> Add application -> Self-hosted- Set
Domaintossh-de.condevtools.com - Set
Policyto only allow your own account/email, and enable MFA
Local Mac
1. Install client
brew install cloudflared
cloudflared --version
2. Direct connection test
ssh -o "ProxyCommand=$(which cloudflared) access ssh --hostname %h" root@ssh-de.condevtools.com3. Optional: write to ~/.ssh/config, then use ssh de-cf
Host de-cf
  HostName ssh-de.condevtools.com
  User root
  ProxyCommand /opt/homebrew/bin/cloudflared access ssh --hostname %h
ssh de-cf