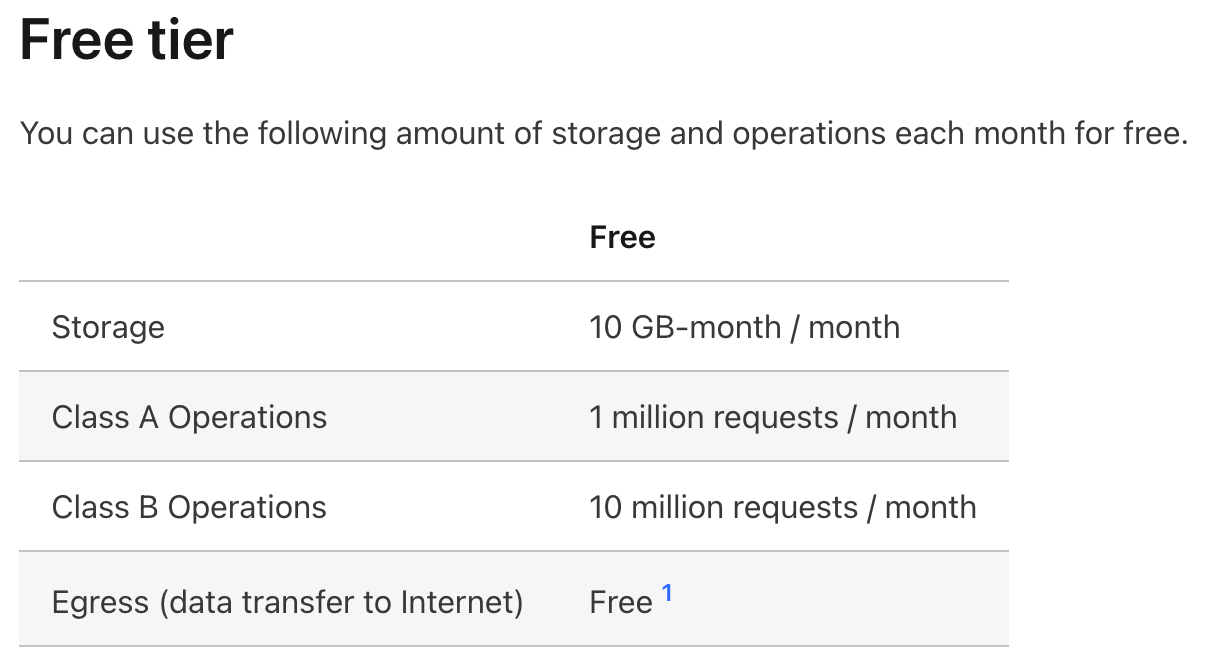
Cloudflare R2's free plan includes 10GB per month, which is usually enough for a personal image host.
1. Create an R2 Bucket
- Open the Cloudflare dashboard and go to
R2 -> Create bucket. - Enter a bucket name and create it.
- Open the bucket, then go to
Settings -> Add custom domainand enter your domain. - Confirm the setup, and the corresponding DNS record will be generated.
- Upload one file manually first to confirm the bucket can read and write normally.
2. Create an API Token
Path: R2 -> Account Details -> Manage API Tokens -> Create token
- Set token permission to
Object Read & Write. - Set scope to
Apply to specific bucket only. - After creation, save the following:
Access Key IDSecret Access Key
3. PicGo Setup
- Download and install PicGo.
- Install the
S3plugin from the PicGo plugin marketplace. - Open
PicGo -> Image Hosting Settings -> Amazon S3and create a new config.
Parameter mapping:
| PicGo Field | Value |
|---|---|
| Access Key ID | R2 Access Key ID |
| Secret Access Key | R2 Secret Access Key |
| Bucket | Your bucket name shown in R2 |
| File Path | {year}/{month}/{fileName}.{extName} |
| Custom Endpoint | The S3 endpoint provided on the R2 page |
| Reject Unauthorized TLS | yes |
| ACL | public-read |
4. Upload Verification
- Select an image in PicGo and upload it.
- Confirm the file appears in the corresponding Cloudflare R2 bucket.
- Copy the uploaded link in PicGo and open it to test access.